Introduction
I’m going to show you how to get started with Mailchimp to manage your email list. It’s not the only option out there, but it’s free to get started and it’s the email service I’ve used since early 2010.
Why even have a mailing list?
Organic (meaning non-paid) traffic from Google can disappear without warning (believe me, I learned the hard way). Services like Facebook or Twitter can die out like MySpace or Friendster. But an email list is yours. And even if all your traffic disappears, you can still reach your most loyal users if they’re subscribed to your mailing list.
Affiliate marketers like to remind you, “The money is in the list.” It’s true. Conversion rates are far higher for email lists than social media sites and the people who are willing to let you into their inbox by subscribing to your list are the ones you want to be able to reach.
Why Mailchimp?
That’s a good question. There are plenty of other email list services like AWeber, ConstantContact and iContact. I chose MailChimp because their service is free for up to 2,000 users (and up to 12,000 sent emails a month). You don’t even need a credit card to join. I also liked the quirky personality of their site, but it was mostly about the money.
You’re welcome to try another solution. I might switch to another one in the future. But most of the principles I cover here will apply to any provider, even if the mechanics are slightly different.
Creating a list
Note: This assumes you are logged in to your mailchimp account. You can sign up here to get one.
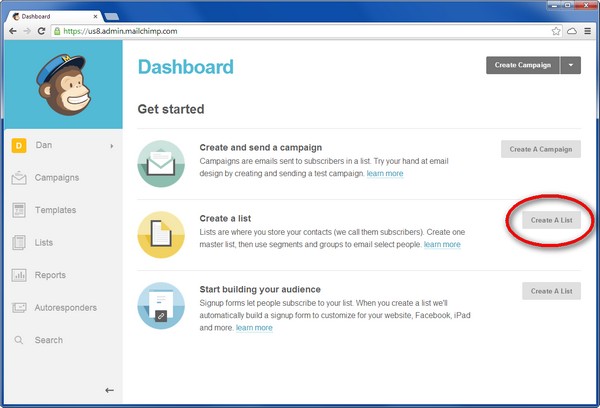
It may be confusing that the first step to getting started at Mailchimp is to “Create and send a campaign” when you don’t even have a list yet. If you don’t have a list of subscribers yet, MailChimp lets you send the email to yourself or choose to create a new list by exiting the campaign builder. I’m not entirely sure why they did this instead of having ‘Create a new list’ as the first option, but we’ll work a little differently.
Let’s create a list first by clicking on the ‘Create List’ button (circled in red in the above screenshot), then click on the ‘Create List’ button on the top right (not pictured).
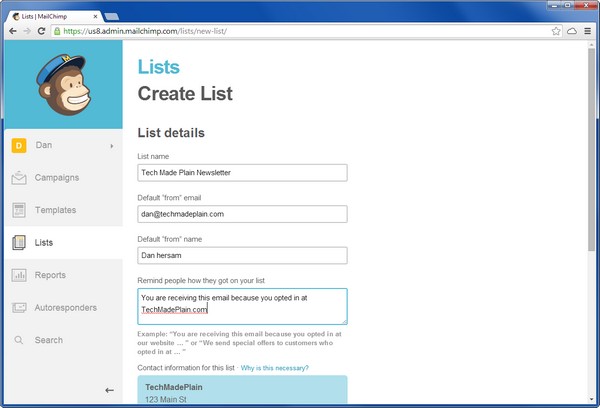
Fill out the fields for your mailing list. Pay attention to the prompts as you fill out the fields. For example, note that users will see the name of your list and that you should use a valid mailing address to comply with anti-spam laws.
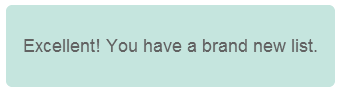
Select the notifications you want, then hit the ‘Save’ button at the bottom and you have created a new list!
Creating a form
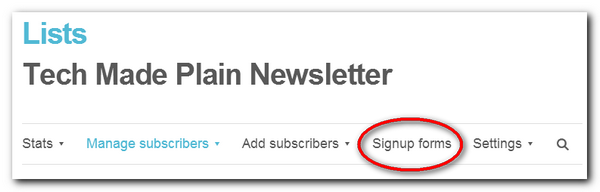
You should now be on your new list’s page. Click on the ‘Signup forms’ link.
You’re given three options to create a form:
- General forms
- Embedded forms
- Form integrations
We’re going to use Embedded forms. If your web site uses Wordpress, you may want to try out Form integrations. You’ll need to install the Mailchimp Wordpress plugin, then it will be even easier to add a subscription form to your site.
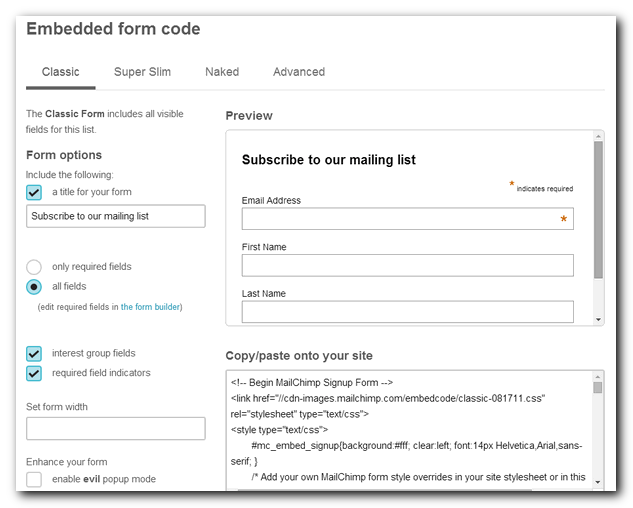
Here is where you set the options for your signup form, like the title, what fields are visible, which ones are required and so forth. The only required field by default is the email address. This means users can enter their first and last name if they want, but they don’t have to. Once you’ve chosen your options, copy the HTML into your web site and the form will be live. (NOTE: You may need help on this step if you don’t regularly change the content of your web site.)
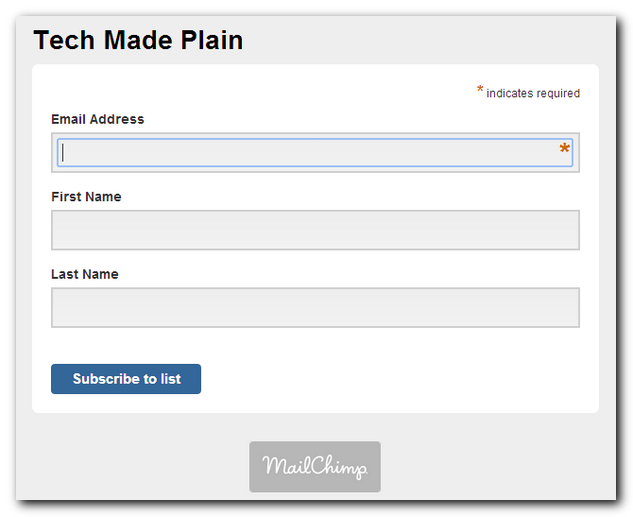
If you want a link to your signup form to share on social media sites like Facebook and Twitter, it can be found in General forms, ‘Signup form URL’. The link will lead to a signup form similar to the one pictured above.
Creating a template
We’re halfway there. You’ve created your list and we have a subscription form (or a link to the form). Now we’re going to create a template. The benefit of creating a template is that it simplifies the process of sending out your emails with a consistent design. A template will have all of the information that stays the same like the header, logo, color scheme and footer. This means you can just add the content when you send out your newsletter. Let’s get to it.
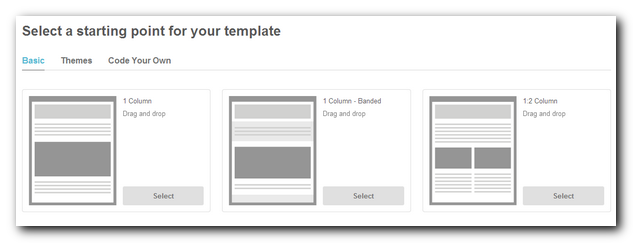
Go to Templates and click on the ‘Create Template’ button on the top right of your browser window. You can see a few of the basic template layout options in the above screenshot, but we’re going to choose a theme instead. Click on ‘Themes’, then select ‘Newsletters’ in the dropdown to see the themes they have for Newsletters. I chose Rest & Relaxation.
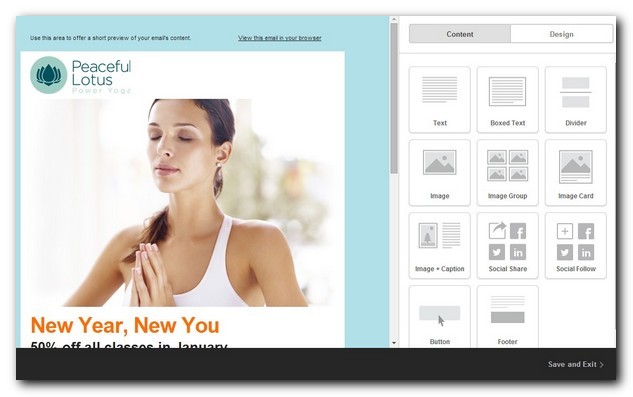
On the left you’ll see a preview of your newsletter. On the right is a selection of content types. In order to replace existing content, click on it in the left screen, then choose ‘Replace’ on the right. Drag the image you want to use from your computer onto the browser window, or click the ‘Browse’ button to locate it. If it’s not the right size, you can click on it, select ‘Edit’ and choose the ‘Resize’ option.
Since this is a template, you can leave the text boxes blank and fill them in when you send out the email. I just filled in some text for fun.
Continue clicking on the content in the left panel and changing it in the right panel, for both images and text. You can change the color of the text by highlighting it then clicking on the ‘Text color’ icon. You can also add new elements by dragging the element from the right over to the left and placing it where you want it to go.
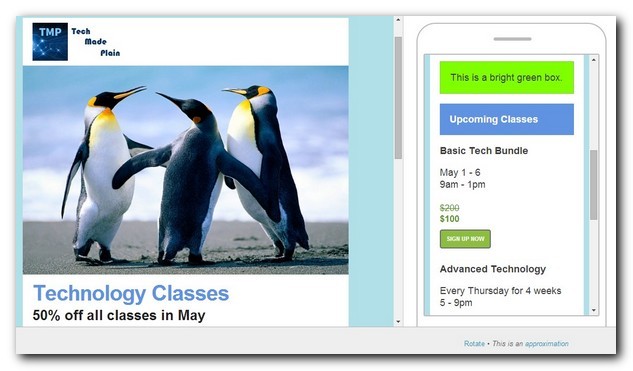
Once you’re done, click ‘Preview and Test’ to see how it looks. On the left is a standard browser, and on the right is how it might look on a mobile device. Above is just a demo theme I created for this blog post. I wouldn’t recommend using such a bright green box unless you want to antagonize your subscribers ;)
Once you’re happy with how the template looks, hit ‘Save and Exit’ on the bottom right and you’ll be prompted to give your template a name. This will only be used by you to identify the template when you sent out an email.
Sending email to your list
Now comes the fun part - sending an email to your list. MailChimp calls this creating a campaign. Click on the ‘Campaign’ section on the left menu bar, then ‘Create Campaign’ on the top right. Choose ‘Regular ol’ Campaign’ and leave the default of ‘Send to entire list’ selected. Hit ‘Next’ on the bottom right.
Give the campaign a name. I typically include the date with some descriptive text, like ‘9 May 2014 TMP Newsletter’. Next, enter the subject of the email that will go out to your users. You may want to identify your business in the subject line so users can easily see what the email is about, but that’s up to you. Click ‘Next’ on the bottom right to continue.
Go to ‘Saved Templates’ and ‘Select’ the template we created in the last step. Add the content you want to send to your subscribers and click ‘Next’ on the bottom right.
You need at least one subscriber on your list. I recommend subscribing to your own list so you can see the view from a subscriber’s perspective. It also lets you test everything out before sending it to your users.
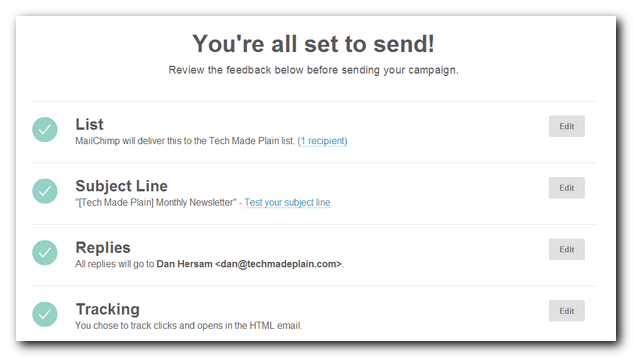
Now you’re ready to send the email. Hit the ‘Send’ button and you’re done! You could also click ‘Schedule’ to have the email go out sometime in the future at a specific date and time.
Conclusion
Congratulations! Assuming you followed along, you now have your very own, one of a kind mailing list and email template.
If you got stuck along the way or have any questions, let me know.