One of the comments I hear most in my 30-minute consultations is how convenient the scheduling process was. Without a scheduling system in place, setting up appointments with potential clients can be time-consuming and frustrating. It often takes several emails back and forth to find a time you’re both available and it’s easy to get confused by timezones.
I once set up a time to meet with someone in the GMT timezone, then missed her by an hour. I learned that the actual time was BST (British Summer Time). It made me feel silly for missing the appointment and we had to reschedule.
I looked at over a dozen scheduling options before settling on ScheduleOnce and I’m very happy with the service.
The Cost

Their pricing was a little confusing at first. (Note: Put your mouse over the gray question marks to get a more detailed description.) I chose the $9/month option because I wanted to let my clients set up appointments without having to approve each one. If you don’t mind approving each appointment, go with the $5/month plan as that’s the only difference between the two. If you want more than one booking page and several other features, the $19/month plan might work best for you.
I started with their 14-day free trial to get a feel for how the service worked and I was impressed. If you do choose to use their service, you can save a little money with annual billing instead of monthly.
At first I thought their only payment method was Paypal, and you know how I feel about Paypal, but I signed up anyway because it was the best service I had found. I later discovered you can pay with a credit card. That’s what I use now.
The Integration
One of the best features is the integration with Google Calendar. I set up a block of times that I’m generally available during a typical week, then it checks my calendar for that week to see if I’m busy before making the times available. For instance, if I add a meeting to my calendar that takes up all of Thursday afternoon, ScheduleOnce won’t let anyone schedule an appointment for that Thursday afternoon. And when someone sets up an appointment with me, I get an email and their appointment is added to my Google Calendar. It’s a very simple and convenient process for both parties.
The Configuration

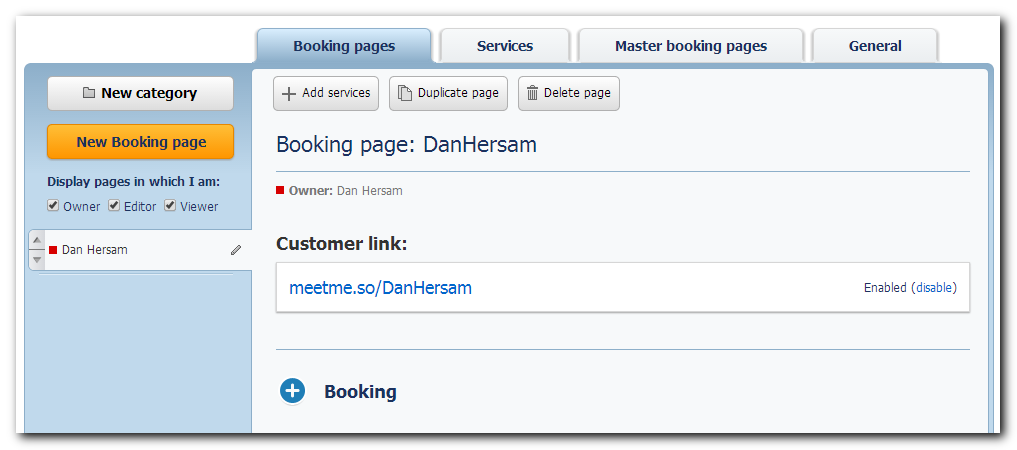
Setting up your booking page can be done in the Configuration section. There are a lot of settings, but the main one to focus on is the Booking section, where you can enable automatic booking (with the $9/month and up plans). I set a fixed duration of 30 minutes, and set the appointments to be at least 30 minutes apart to give myself a buffer to prepare for calls.
Under Customer notifications you can send out reminders. I set one up to remind people 24 hours before the appointment. You can send have up to 3, for instance 24 hours, 6 hours and 10 minutes before the appointment. Use your discretion. You don’t want to annoy a potential client.
Another important section is your Booking page details. This is where you customize what people see when they go to your booking page. You can add a picture, a short message and your contact information.
The Appointment
Once you’ve done all of the work, you can put the link to your booking page in emails, on your web site, Facebook, Twitter or wherever else you can think of.
It’s almost magical when people set up meetings when I haven’t had to even be involved except to give them a call when I get the reminder on my calendar.